Quick and Easy Steps for Dishwasher Installation in Melbourne
Rhoda
- July 7, 2024
Installing a dishwasher can be a straightforward process with the right tools and guidance. Whether you’re upgrading your kitchen or replacing an old appliance, proper installation ensures optimal performance and longevity. Here’s a guide to help you through the process of Dishwasher installation In Melbourne.
Step 1: Preparation
Before diving into Dishwasher installation In Melbourne, gather all necessary tools and equipment. You’ll typically need a screwdriver, adjustable wrench, tape measure, pliers, and possibly a drill. Ensure the dishwasher is compatible with your kitchen layout and plumbing.
Step 2: Shut Off Utilities
Safety first! Turn off the water supply and disconnect the power to the dishwasher by switching off the circuit breaker. This prevents any accidents during installation.
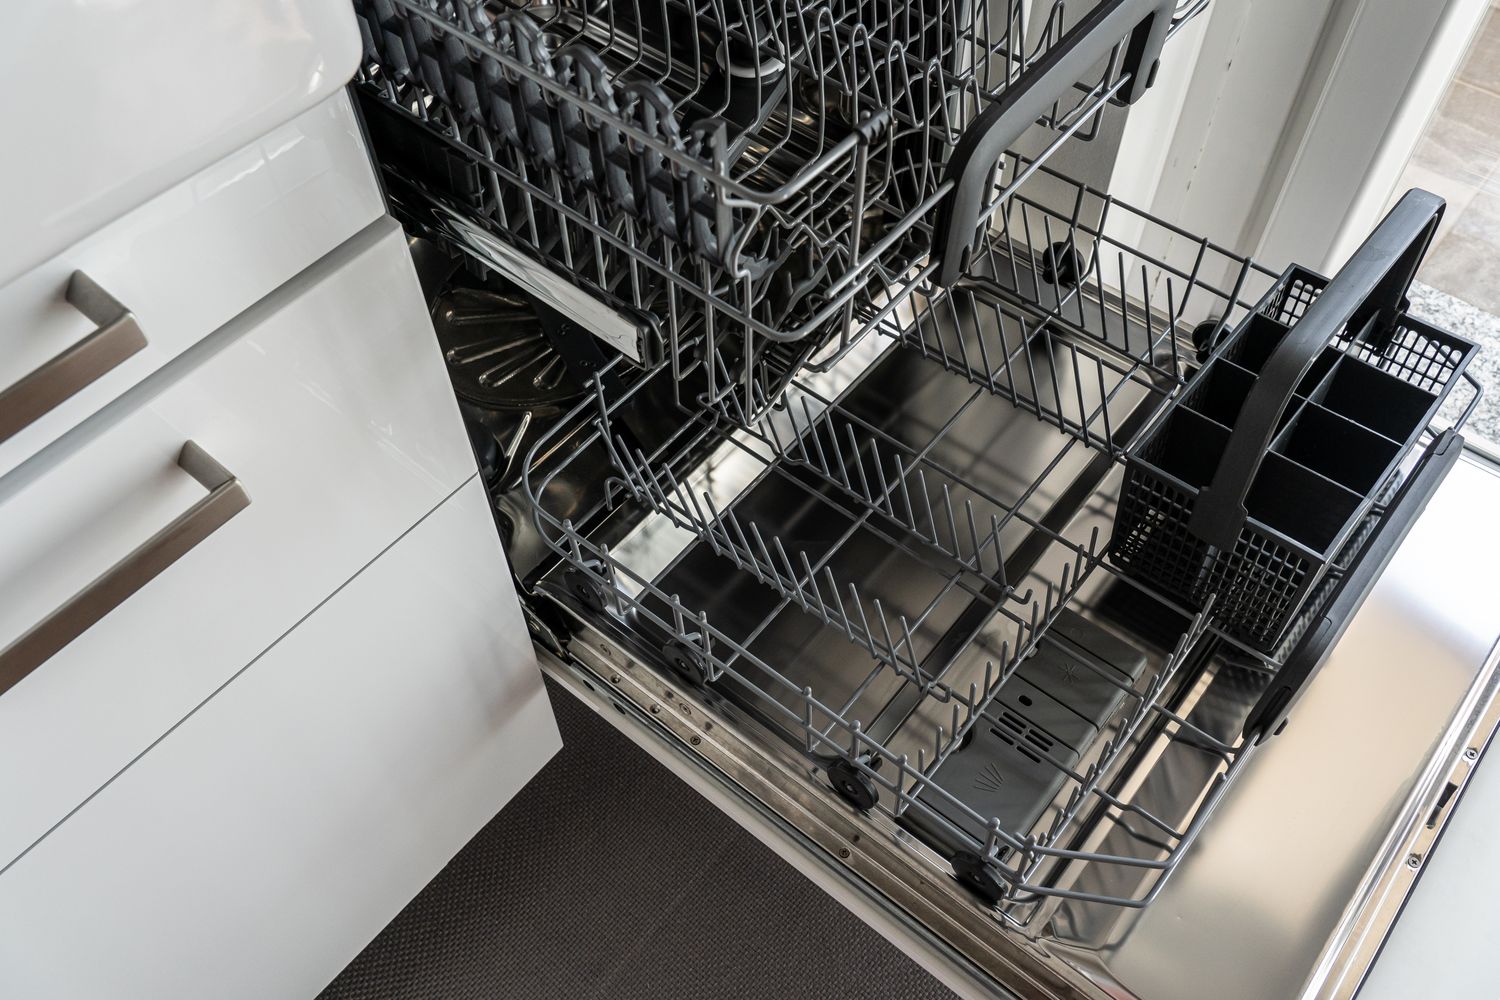
Step 3: Positioning the Dishwasher
Carefully slide the dishwasher into place, ensuring it’s aligned with the cabinets and level on the floor. Use a level to check if adjustments are needed. Leave adequate space around the appliance for ventilation and access to plumbing and electrical connections.
Step 4: Connecting Water Supply
Connect the dishwasher to the water supply. Most dishwashers come with a flexible hose that attaches to the hot water supply under the sink. Use pipe tape to secure the connection and prevent leaks.
Step 5: Draining Installation
Next, connect the dishwasher drain hose to your kitchen sink’s drain system or garbage disposal unit. Ensure the hose is securely attached to prevent leaks and potential drainage issues.
Step 6: Securing the Dishwasher
Secure the dishwasher to the underside of the countertop or adjacent cabinets using mounting brackets. This step ensures stability during operation and prevents movement that could disrupt connections.

Step 7: Electrical Connection
If your dishwasher requires electrical wiring, carefully follow the manufacturer’s instructions for connecting it to the power supply. This step usually involves connecting wires to the dishwasher’s junction box and then plugging it into a nearby outlet or hardwiring it directly.
Step 8: Testing
With all connections secured, slowly turn on the water supply and electricity. Run a test cycle without dishes to ensure everything functions correctly. Check for leaks around water connections and ensure the dishwasher drains properly into the sink or disposal unit.
Step 9: Final Adjustments
Make any final adjustments to ensure the dishwasher door opens and closes smoothly and that it operates quietly. Adjust the leveling feet if necessary to achieve a stable, balanced position.
Step 10: Clean-Up
Once installation is complete and tested successfully, clean up any debris or packaging materials. Keep the manufacturer’s manual handy for future reference on maintenance and troubleshooting.